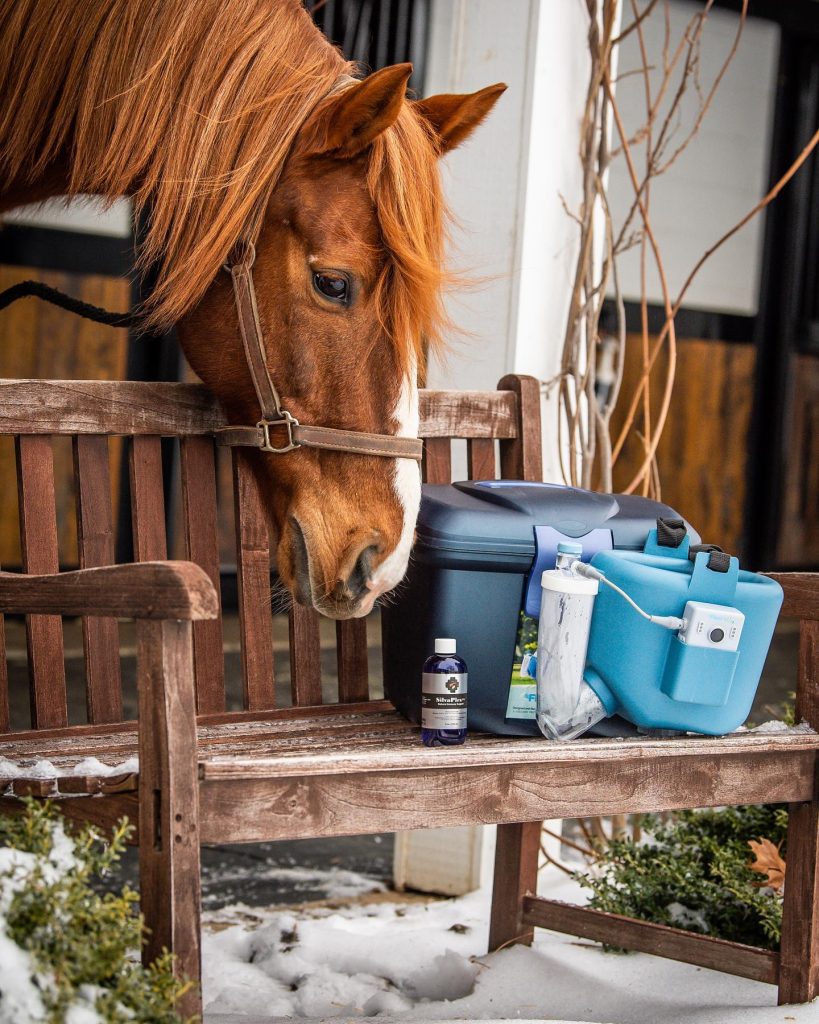
THE INNOVATIVE NEBULISER FOR HORSES
Are you going to use the Flexineb for the first time? No worries! Let your horse get used to it and the use will be self-explanatory. Pozwól swojemu koniowi się do tego przyzwyczaić, a użytkowanie będzie jeszcze przyjemniejsze.
INSTRUKCJA UŻYTKOWANIA - PIERWSZE UŻYCIE
Instrukcja użytkowania. Przeczytaj uważnie instrukcję przed użyciem. Używając Flexineb po raz pierwszy, pamiętaj, że jest to również pierwszy raz dla konia, więc bądź ostrożny.
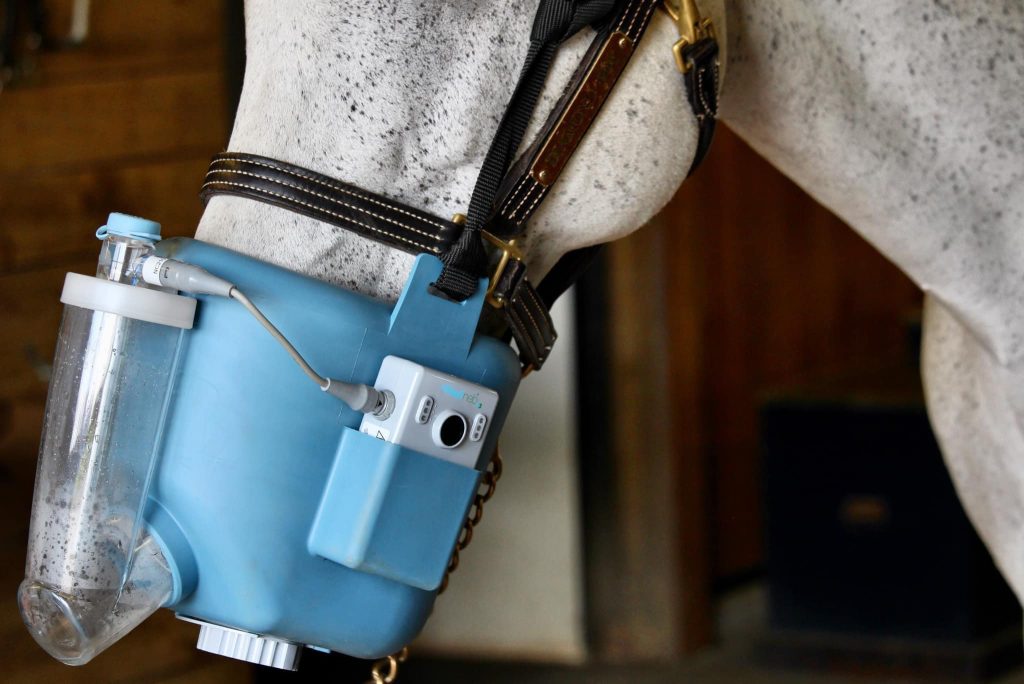
Place the Flexineb® gently over the horse’s nose and mouth with the lower outlet valve open. In this way the horse can breathe normally. Push the mask up until the nostrils are covered and a seal is created around the nose and mouth. As soon as the horse is breathing normally and is used to the Flexineb®, you close the outlet valve again and the treatment can be started.
Take your time
If the horse resists the mask, be patient and let it look and smell it before trying again to try on the mask. If the horse starts to feel scared during treatment, open the exhaust valve to allow more air to be inhaled. Close the valve again as soon as the horse is relaxed.
In an emergency, the outlet valve at the bottom of the mask can be pulled out to allow the horse to breathe freely.
Although the mask material is soft and flexible, the front nebulizer chamber and battery controller are made of hard plastic, so be aware of the risks when the horse shakes its head with the Flexineb® at the head.
OPERATION
The Flexineb is very intuitive to use. Nevertheless, it is important to read the user manual carefully in advance for the correct settings.
STEP 1
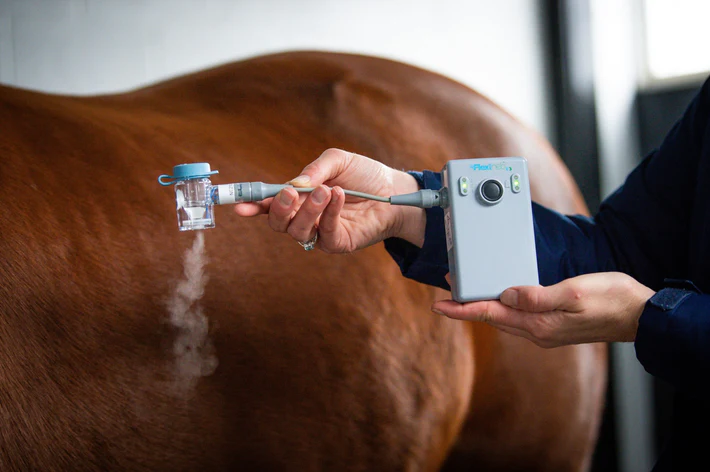
Read the complete user manual first. Before putting on the mask, check that the rubber at the inlet and outlet valves can move freely.
STEP 2
Open the ventilation at the bottom of the mask so that the horse can breathe freely and become familiar with the mask. When the horse is used to the mask, close the ventilation opening at the bottom.
STEP 3
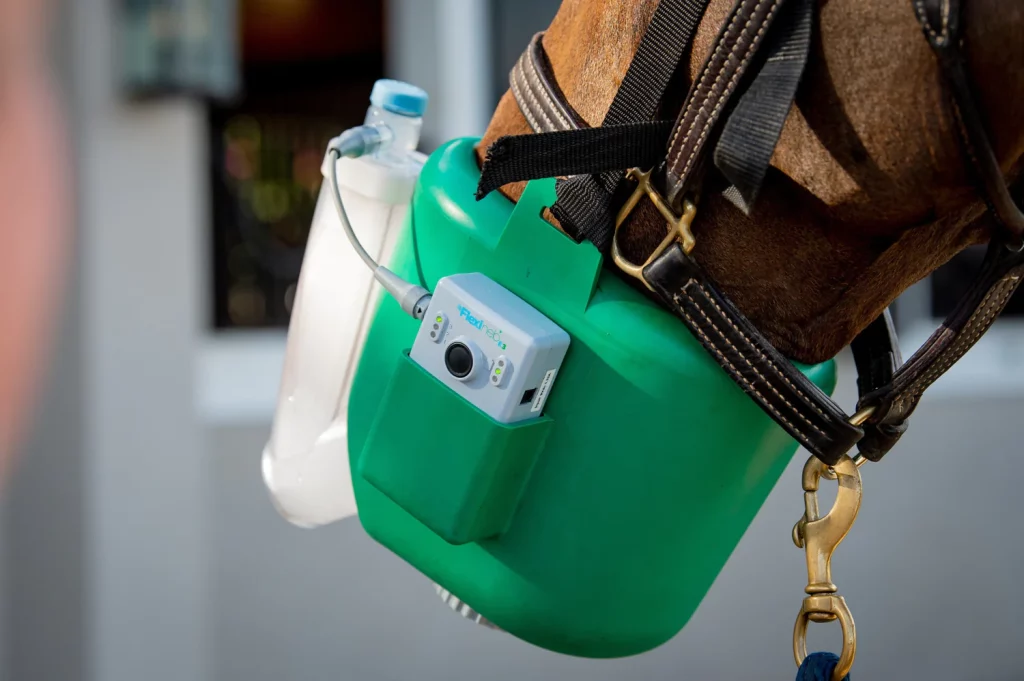
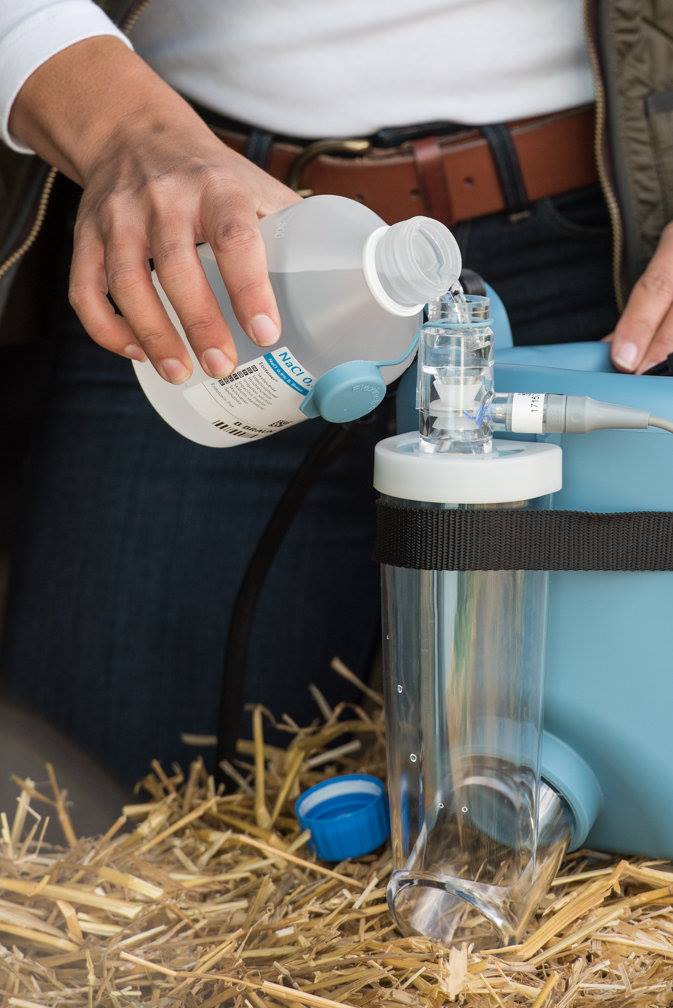
Take the medication cup and fill strictly according to the advice of your vet, only then place it on the inlet valve, do not press too hard, and connect the controller by means of the cable. Turn on the control unit at the correct level depending on the fluid and desired speed.
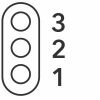
When switched on, the level 1 lamp flashes (slow nebulization). Blinking, the level can be changed by pressing the power button repeatedly. Once the lamp lights up permanently, the level is activated and the nebulization begins.
Bottom LED Level 1: Slow nebulization
Middle LED Level 2: Standard nebulization
Top LED Level 3: Rapid nebulization
STEP 4
You see the nebulizer chamber filling with aerosol and emptying when the horse inhales. When the liquid in the cup is completely nebulized, the controller will start flashing after about 2-3 minutes. This means that the medication cup has stopped. You can now turn off the controller by pressing the on/off button. If a lot of aerosol remains in the nebulizer chamber, the inhalation is not deep enough. You can then go for a walk to stimulate deeper breathing.
Note: The controller will turn off automatically after 35 minutes. If the medication cup is not empty yet, turn the controller on again.
CONTROLLER
On the controller you see two rows of lights. On the left you choose the nebulization speed, Operational LED. On the right you see the battery status. Below we explain the different positions.
Operational LED
LED lights up green
• The medication cup is filled
LED flashes green
• Device is switched on, now switch between
the levels by pressing the on/off button:
Bottom LED Level 1: Slow nebulization
Middle LED Level 2: Standard nebulization
Top LED Level 3: Rapid nebulization
LED flashes green
• The medication cup is empty. Connection with the
medication cup is interrupted and the device cannot
be turned off.
LED lights up red
This can mean:
• Lost connection
• Broken cable
• Defective medication cup
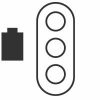
BATTERY STATUS
LED lights up green
• Above: battery is full
• Middle: battery is half full
• Bottom: low state of charge
LED lights up red
• Bottom: low battery
LED flashes red
• Bottom: The battery is empty and
the device turns off
The LEDs flash alternately during charging. When the battery is fully charged, the top LED lights up Green. green.
CLEANING
Cleaning is important to keep the Flexineb in good condition. Do this every time you finish nebulizing.
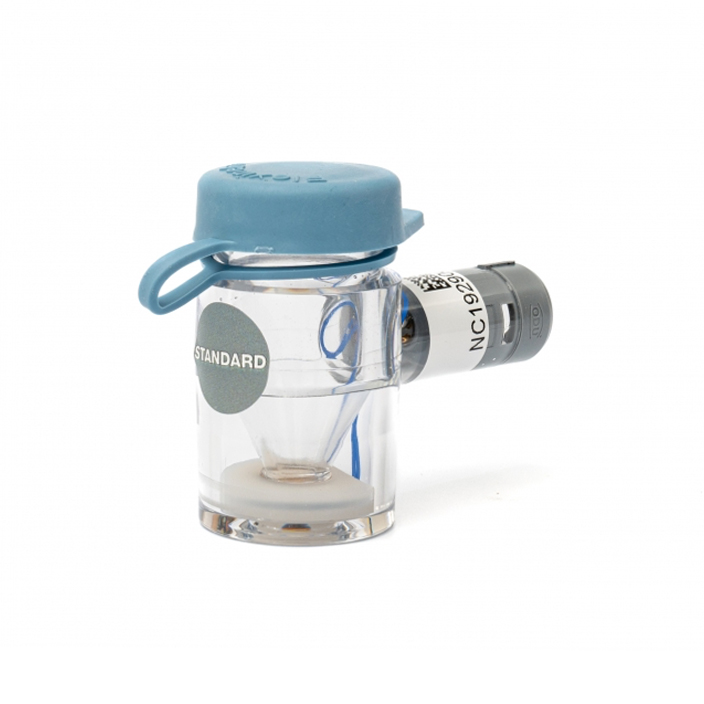
Medication Cup
Clean after each use!
- First place the silicone seal on the cup to keep the electronic connector free of moisture.
- Spray 3x ‘Frosch Kitchen Hygiene Cleaner’ in the medication Cup. Close the blue lid and let the cleaner work. Then shake briefly and pour the contents away.
- Then rinse with distilled water, close the lid, shake and discard the contents.
- Refill the cup with a little distilled water, close the lid and turn the controller on for about 10 seconds. This procedure removes any residue and cleans the membrane in the medication cup.
- Let the cup dry with the lid open.
CAUTION Never immerse the medication cup in water or chemical solutions. This can permanently damage the metal mesh membrane or reduce its life. Do not use sharp instruments to clean the metal mesh in the medication cup.
It is strongly recommended to keep spare medication cups in stock for continuity of treatment.
MASK & AREOSOL CHAMBER
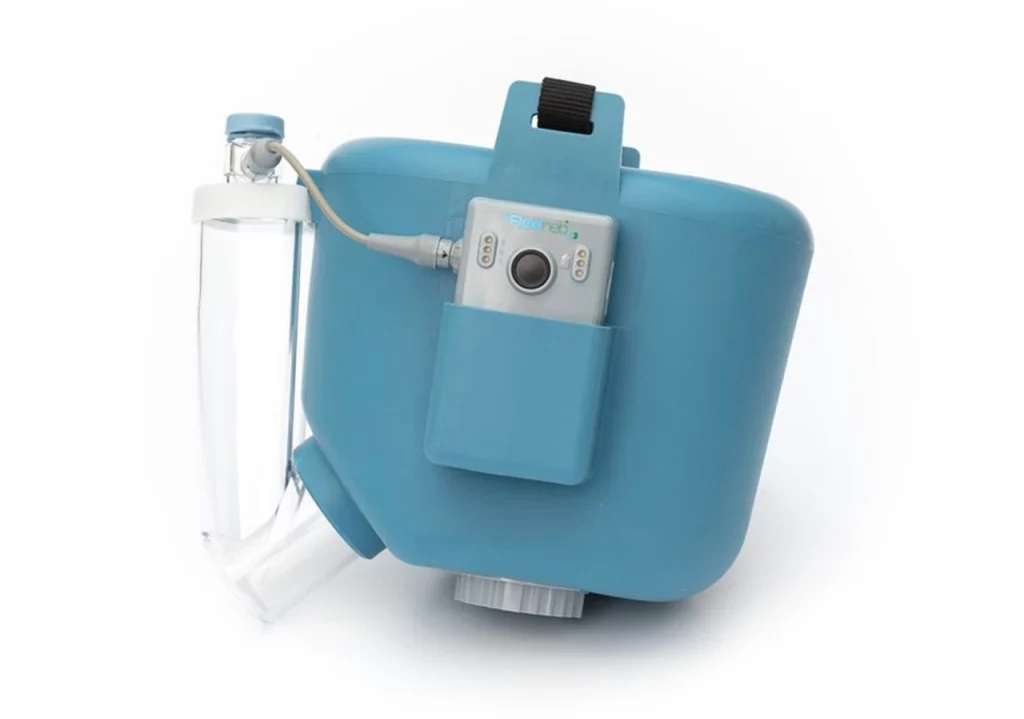
Wipe the mask and nebulizer chamber with a damp cloth. If the mask is very dirty, the naked mask and the aerosol chamber (first remove all valves) can be put in the dishwasher (no more than 35 degrees, ‘wash carefully’). In addition, the mask can be cleaned at any time with the ‘Frosch Kitchen Hygiene Cleaner’.
We deliberately chose Frosch Kitchen Hygiene Cleaner because it achieves good hygiene and at the same time does not harm dermatologically.
Disinfection
If you want to not only clean the mask, but also disinfect it, use an alcohol-based disinfection, for example Dettol spray or wipes.
Better not to use:
- Chlorine-based products. Chlorine can bleach the mask.
- Disinfection sprays with quaternary ammonium compounds, e.g. Benzalkonium Chloride. These usually have a wider spectrum of activity than alcohol
Rinse the mask and chamber after using the disinfectant to remove any residue. Do not use disinfectant for the nebulizer/medication cup, it may damage the membrane.
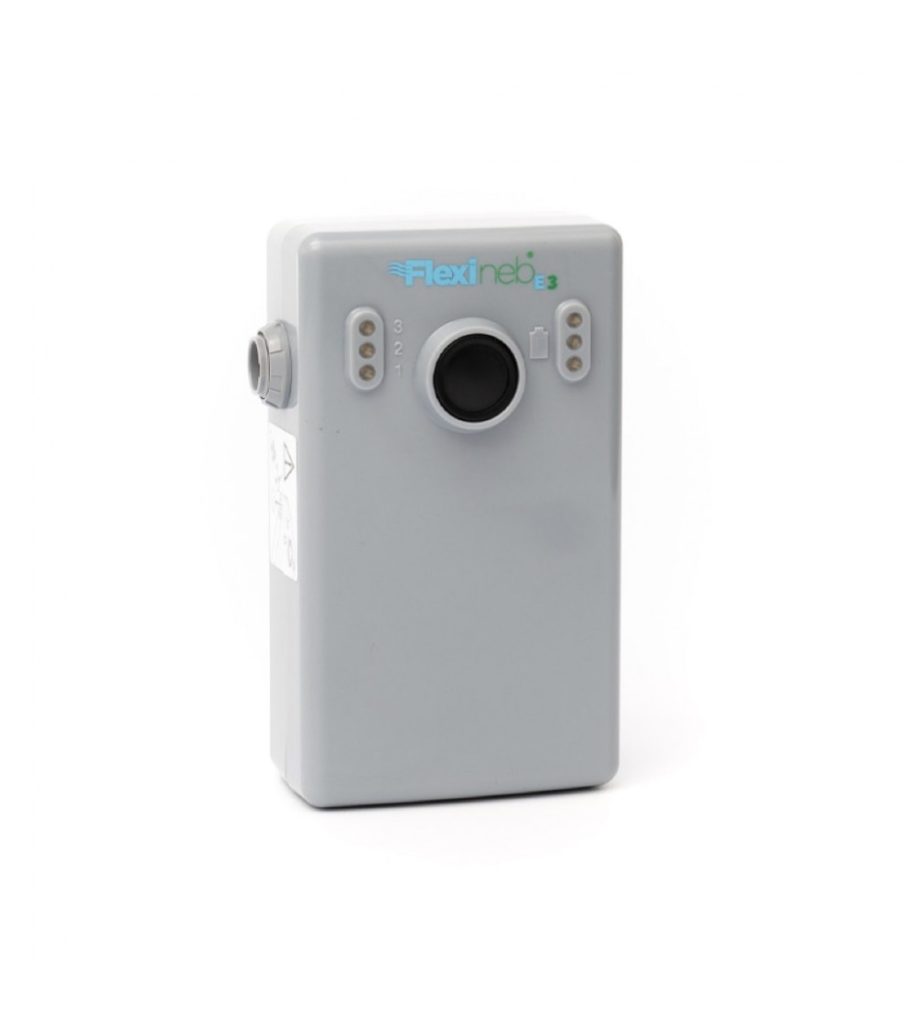
CONTROLLER / CONTROL UNIT
Only charge the battery when the LED light flashes red, this way the battery lasts the longest. In addition, it is important to use and store the electronic controller in dry conditions.
CAUTION:Never immerse the controller in water or any other liquid as this will permanently damage the electronics.
GUARANTEE
The mask and control unit and cable are covered by a 12-month warranty.
The battery, on the other hand, is covered by a 6-month warranty.
The nebulisation container is a part that wears out and is therefore not covered by the warranty.
Damage caused by misuse is not covered by the warranty.
Medication Cup has a volume of 10ml but can be increased by a further 20ml.
Controller is equipped with a function to control the inhalation time, when the volume-enhancing container is used, the device will be required to be switched on again to fully utilise the contents.
Battery has a rechargeable type: Li-ion and the expected operating time is approximately 3 hours.
Battery charging can only be charged using a dedicated charger. The use of other chargers may carry a risk of ignition. One hour of battery charging allows the device to operate for approximately two hours.


